
How to test your integration (test run)
Before you start
Once your integration setup is complete, you must perform a test run before the integration is put into use.
This way, you can verify that orders, customers, products, and accounting data are transferred correctly between the webshop, IEX, and the accounting system.
Before creating a test order, ensure that:
- Your integration is set up and activated.
- The necessary settings are saved.
- Products, payment methods, and delivery methods are set up as expected.
- You have access to both the IEX platform, webshop, and accounting system.
Test overview
The test consists of four steps:
- Create a test order in the webshop.
- Verify that the order is received in IEX.
- Verify that data is transferred correctly to the accounting system.
- Review the result and correct any errors.
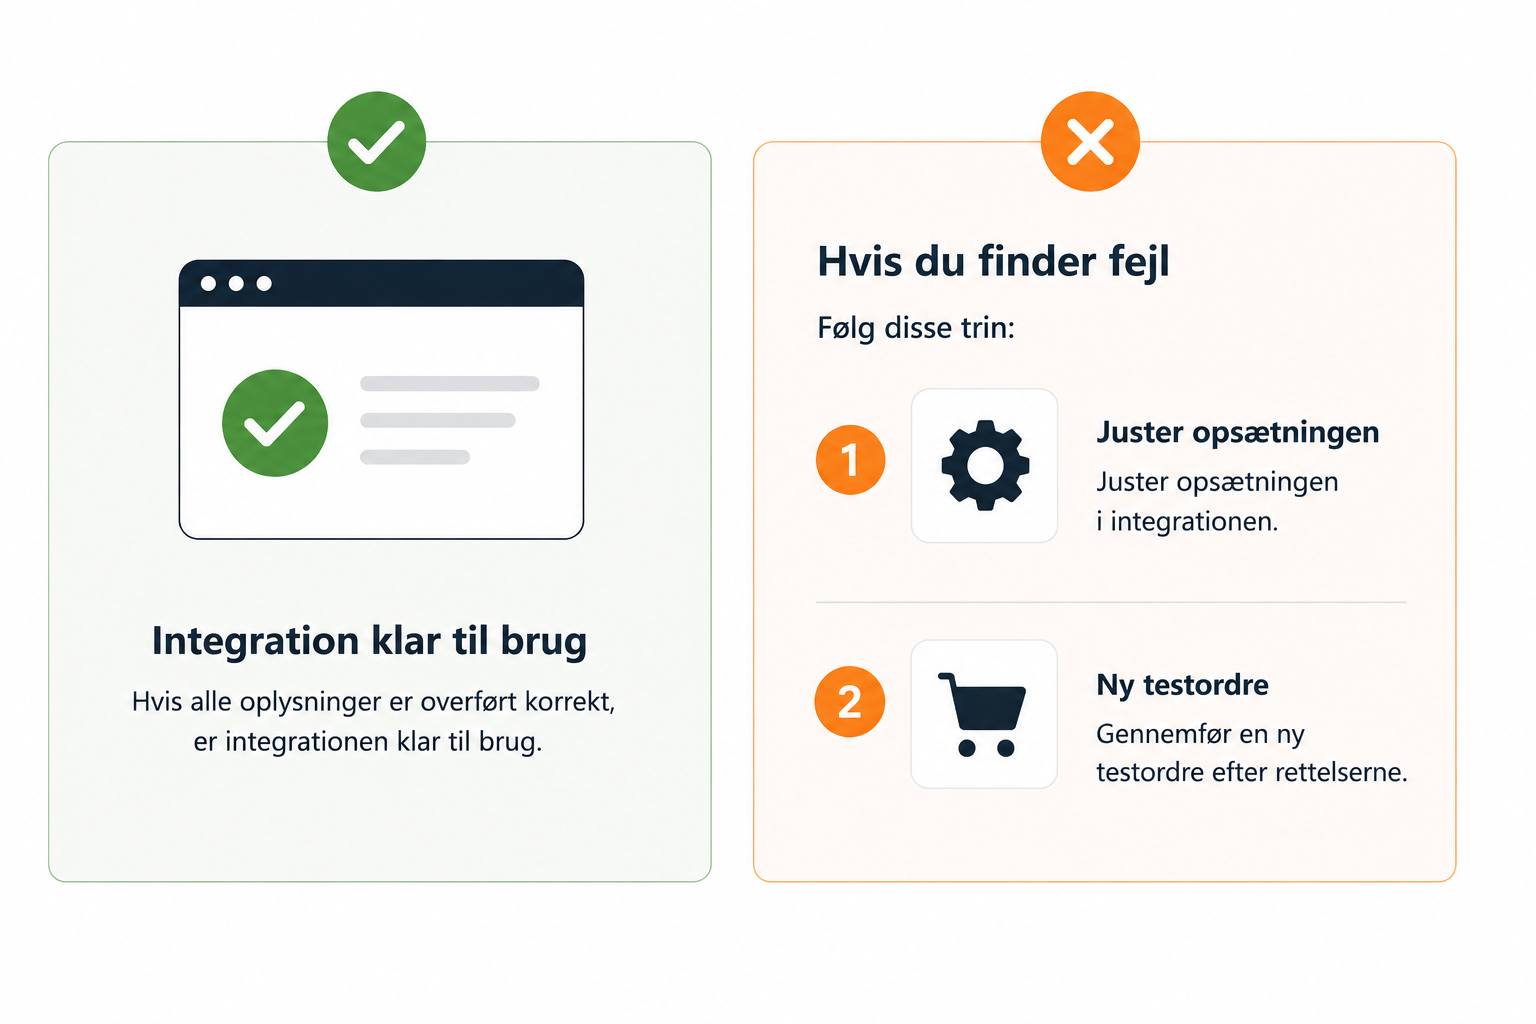
- Ready for use
Step 1: Create a test order in the webshop
Manually create a test order in your webshop.
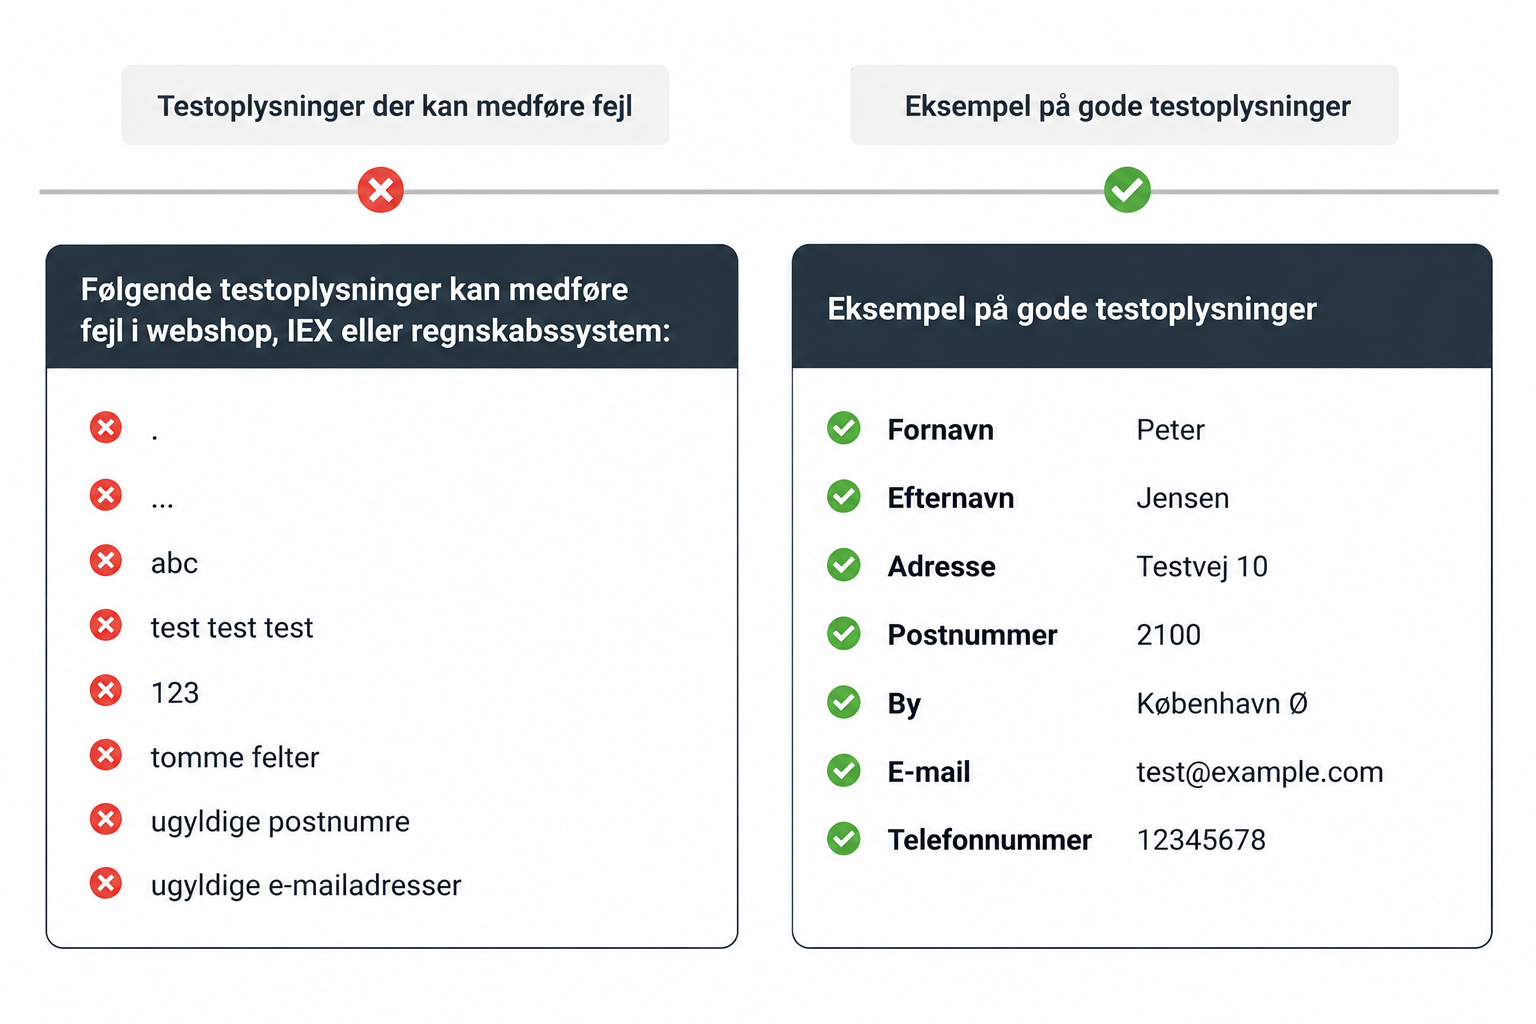
Important: All required fields must be filled with realistic information. Although the information may be fictitious, it must be written in a correct format. Our system validates customer data, so the test order should resemble a real customer order as much as possible.
Once the order has been created, it must be set to order status "Completed" or another order status that is configured for transfer in your integration.
If the order does not reach an order stage that is allowed for transfer, it will not be sent to IEX and the accounting system.
IEX recommends
- Use a clear test name, e.g., "Peter Test Customer".
- Use an email address that you have access to.
- Add at least one product to the order.
- Complete the order with a payment and delivery method set up in the integration.
Read more:When is the webshop order transferred?Step 2: Verify that the order is received in IEX
Once the order is completed in the webshop, you must verify that it is retrieved by IEX. You do this by going to Log on your dashboard.
Check among other things:
- That the order appears in IEX.
- That the order number matches the webshop.
- That the customer has been transferred correctly.
- That products and amounts match.
If the order does not appear, you should check:
- Whether the integration is active.
- Whether the API connection is working.
- Whether errors have been recorded in the log.
Read more:My order is listed as "Skipped" in the log
Step 3: Check data in the accounting system
Once the order has been processed by IEX, you should check the result in the accounting system.
Review, among other things:
- Customer information
- Invoice or order
- Products and line items
- VAT
- Payment method
- Shipping costs
- Financial accounts
Check that amounts, VAT, and totals match the webshop order.
Step 4: Check the setup
You can often reuse the existing test order by changing the order status to, for example, "Pending" (or a similar status) and then setting it back to the status that triggers transfer. This way, the order can be processed by the integration again.
If you have set up different actions for different order statuses, we recommend that you test them all. This ensures that the integration handles orders correctly in all the scenarios you expect to use in your daily operations.
Read more:
Read more:Common errors during test runs
Step 5: Start using the integration
Once the test order has been completed without errors, we recommend deleting or canceling test data in the relevant systems.
After this, the integration is ready to handle real orders.